-
-
Notifications
You must be signed in to change notification settings - Fork 138
Home
giu is a immediate mode gui framework. Immediate mode gui is a concept of "GUI widgets doesn't retain any internal state", as a oppsite concept of retain mode gui (Qt, WxWidget, etc...).
giu uses a declerative layout system.
First of all, let's see giu.Widget interface.
type Widget interface {
  Build()
}
It defines a single method named "Build", which will be used to create the widget.
And the second concept is giu.Layout which is a simple []giu.Widget. It also implements the Widget interface and in it's Build method it will invoke Build method of all the widgets it contains.
So the layout system is very simple and easy to understand.
Q: How to place each element of a giu.Layout in a line?
A: If you want to place multiple widgets one next to another in a same line, use giu.Row widget.
With this system, if you want to create a part of UI dynamically, just create function returns giu.Layout or giu.Widget.
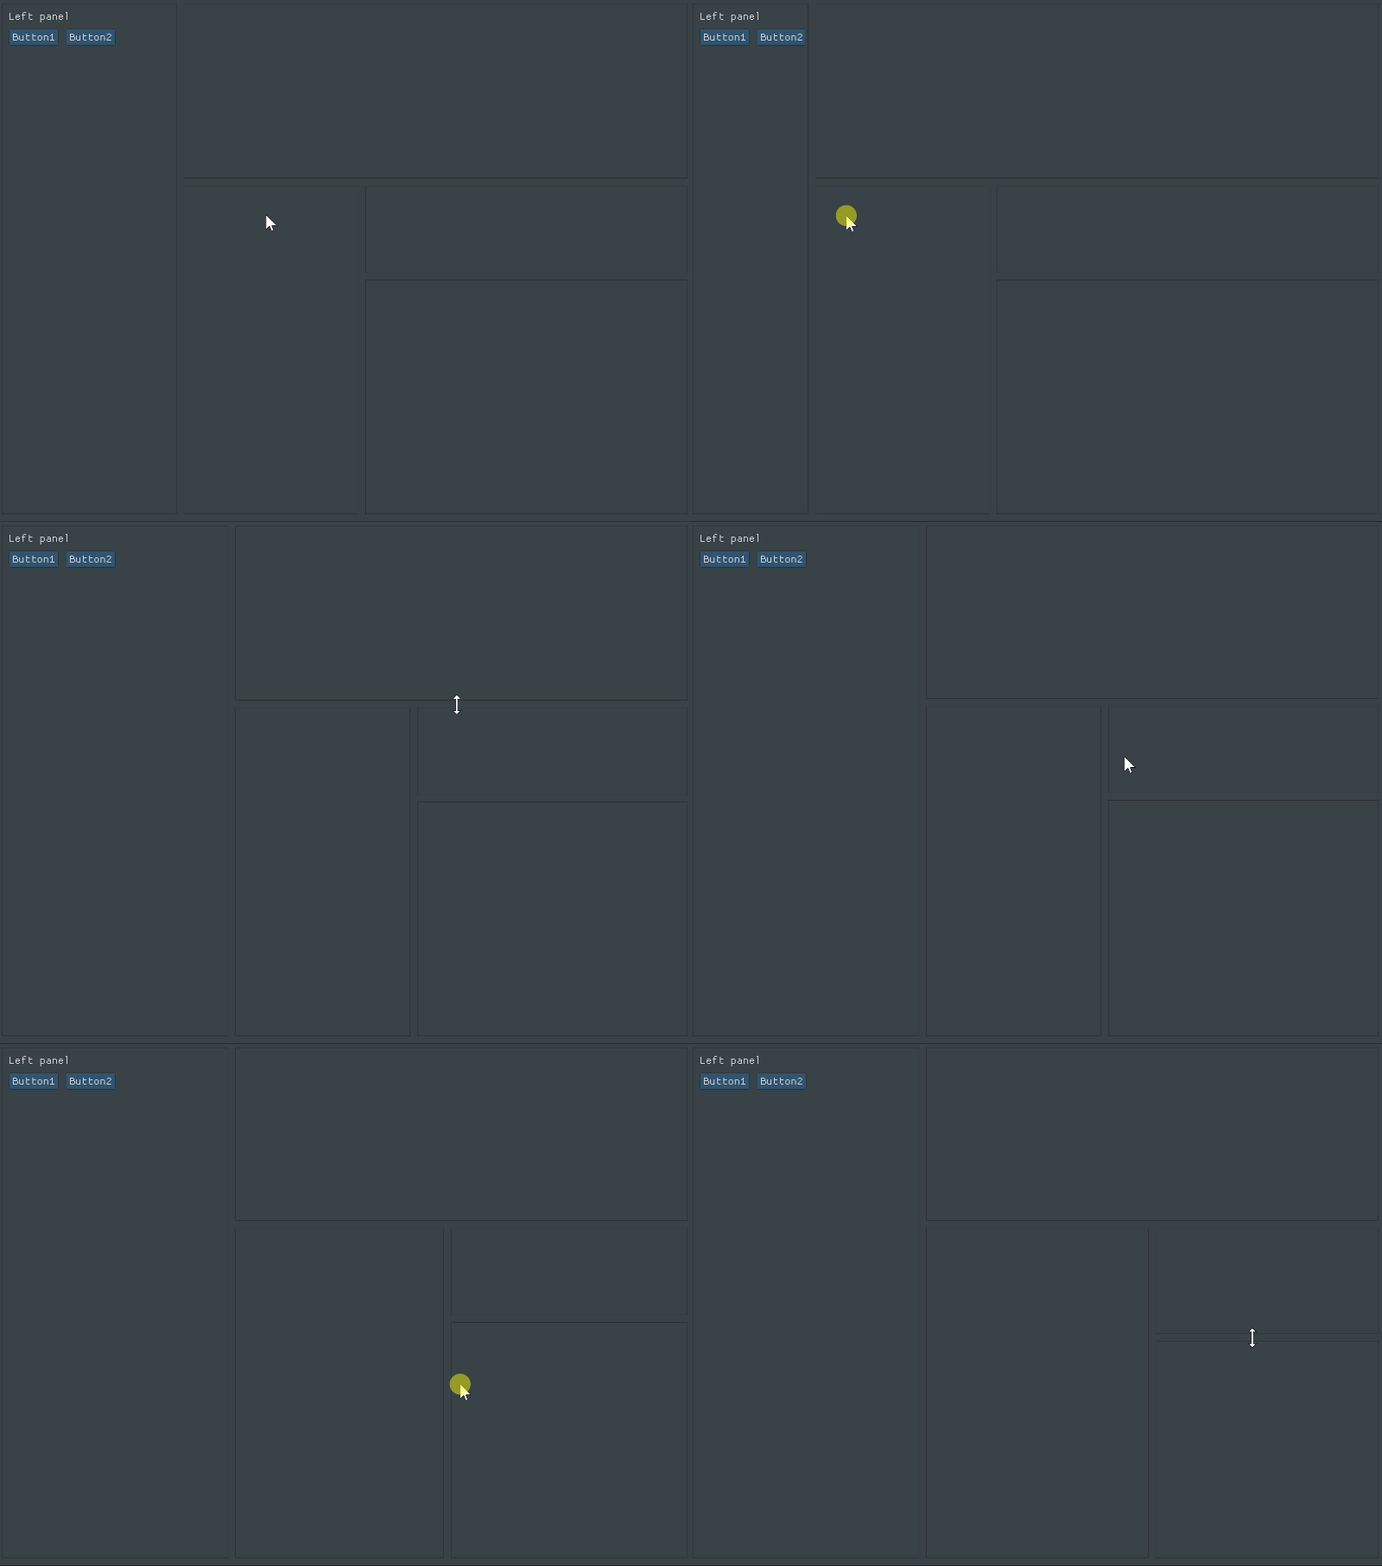
To create live resizing split layout (horizontal or vertical), check examples/splitter.

Most of the widgets are easy to understand by seeing it's function signature.
If you want to know more about how to use a specified widget, check examples/widgets/, it contains the usage of all widgets.
To create custom widget, check examples/customwidget
To create a custom widget which needs to maintain it's own state, check ProgressIndicator, here is the demo examples/extrawidgets.
Another thing need to mention is the id of a interactable widget (button, InputText, selectable, etc...) should be unique. ID is a unique label, which generally every widget needs to be given. To see why it is important to give widgets unique IDs, lets run the following demo:
Quick code
package main

import (
	"fmt"

	"github.com/AllenDang/giu"
)

func loop() {
	giu.SingleWindow().Layout(
		giu.Button("").OnClick(func() {
			fmt.Println("button 1 clicked")
		}).ID("ok"),
		giu.Button("").OnClick(func() {
			fmt.Println("button 2 clicked")
		}).ID("ok"), // <- this string is the same as the one above, lets see what happens
	)
}

func main() {
	giu.NewMasterWindow("Duplicated ID demo", 640, 480, 0).Run(loop)
}
By setting ID via "ID" method, enforce giu to set exactly as we pass. In the above example it is the same for both buttons. In current implementation it causes that on-click callback is not called for second button if it is clicked.
Q: So how to set widget's ID manually?
A: Many widgets already implements (*XYZWidget).ID(string) method.
In many widgets its ID is equal to its label (e.g. for Buttons)
Q: But I want to have two buttons with the same label 😕 how to do this?
A: ID (label) consists of two parts - visible and invisible separated by double hash ("##").
For example, "Button##1", will be rendered as "Button". "##Button1" will be rendered as "".
Since v0.5.5 giu implements Automatic ID Generator.
It counts widget during rendering and adds unique number at the end of its ID. So if you create widgets in a normal way (e.g. by giu.Button("name") you don't need to worry about ID.
Use giu.RangeBuilder.
layout := g.Layout {
  g.RangeBuilder("Buttons", []interface{}{"Button1", "Button2", "Button3"}, func(i int, v interface{}) g.Widget {
    str := v.(string)
    return g.Button(str, func() {
      fmt.Println(str, "is clicked")
    })
  })
}To check key/mouse events against specified widget, place giu.Event() below the widget.
// Create a button
giu.Button("Click Me")
// Place the event handling APIs right after the button to capture key/mouse events.
giu.Event().OnHover(func() {
    // Do event handling here.
}).OnDoubleClick(func() {})
The tooltip and context menu works in the same way.
giu.Call, giu.CallErr, giu.CallVar is provided to invoke GUI creation related code in another goroutine.
Since giu has a mechanism to only redraw the GUI when user events (keyboard/mouse) occurred, so if you update a variable in a goroutine, call giu.Update() to inform GUI to redraw immediately.
Check examples/update
Note that giu.NewTextureFromRgba should be called in a new goroutine to keep GUI alive.
To use giu.Msgbox, you will need to embed giu.PrepareMsgbox in the end of the window layout.
giu.SingleWindow("Msgbox demo", giu.Layout{
  // You layout.
  ...
  giu.PrepareMsgbox(),
})
After that, you could invoke giu.Msgbox at anywhere to display a message box.
Use giu.PopupModal to build a custom dialog, and use giu.OpenPopup and giu.CloseCurrentPopup to control it.
If you need OS related dialogs like OpenFileDialog, SaveDialog and etc, check sqweek/dialog, it provides cross platform dialogs.
Check examples/canvas for usage.
Check examples/multiplefonts for usage.
TBD
-
Install mingw-w64.
brew install mingw-w64 -
Create a build script in your project's root, say
build_win.shlike below, change the app icon path and YourExeName.
cat > YourExeName.rc << EOL
id ICON "./res/app_win.ico"
GLFW_ICON ICON "./res/app_win.ico"
EOL

x86_64-w64-mingw32-windres YourExeName.rc -O coff -o YourExeName.syso

GOOS=windows GOARCH=amd64 CGO_ENABLED=1 CC=x86_64-w64-mingw32-gcc CXX=x86_64-w64-mingw32-g++ HOST=x86_64-w64-mingw32 go build -ldflags "-s -w -H=windowsgui -extldflags=-static" -p 4 -v -o YourExeName.exe

rm YourExeName.syso
rm YourExeName.rc- Set
build_win.shto be executable.
chmod +x ./build_win.sh- Run
/.build_win.sh.
If you find anything you'd like to talk about in reference to this wiki, Don't hesitate to hit dedicated Discussion