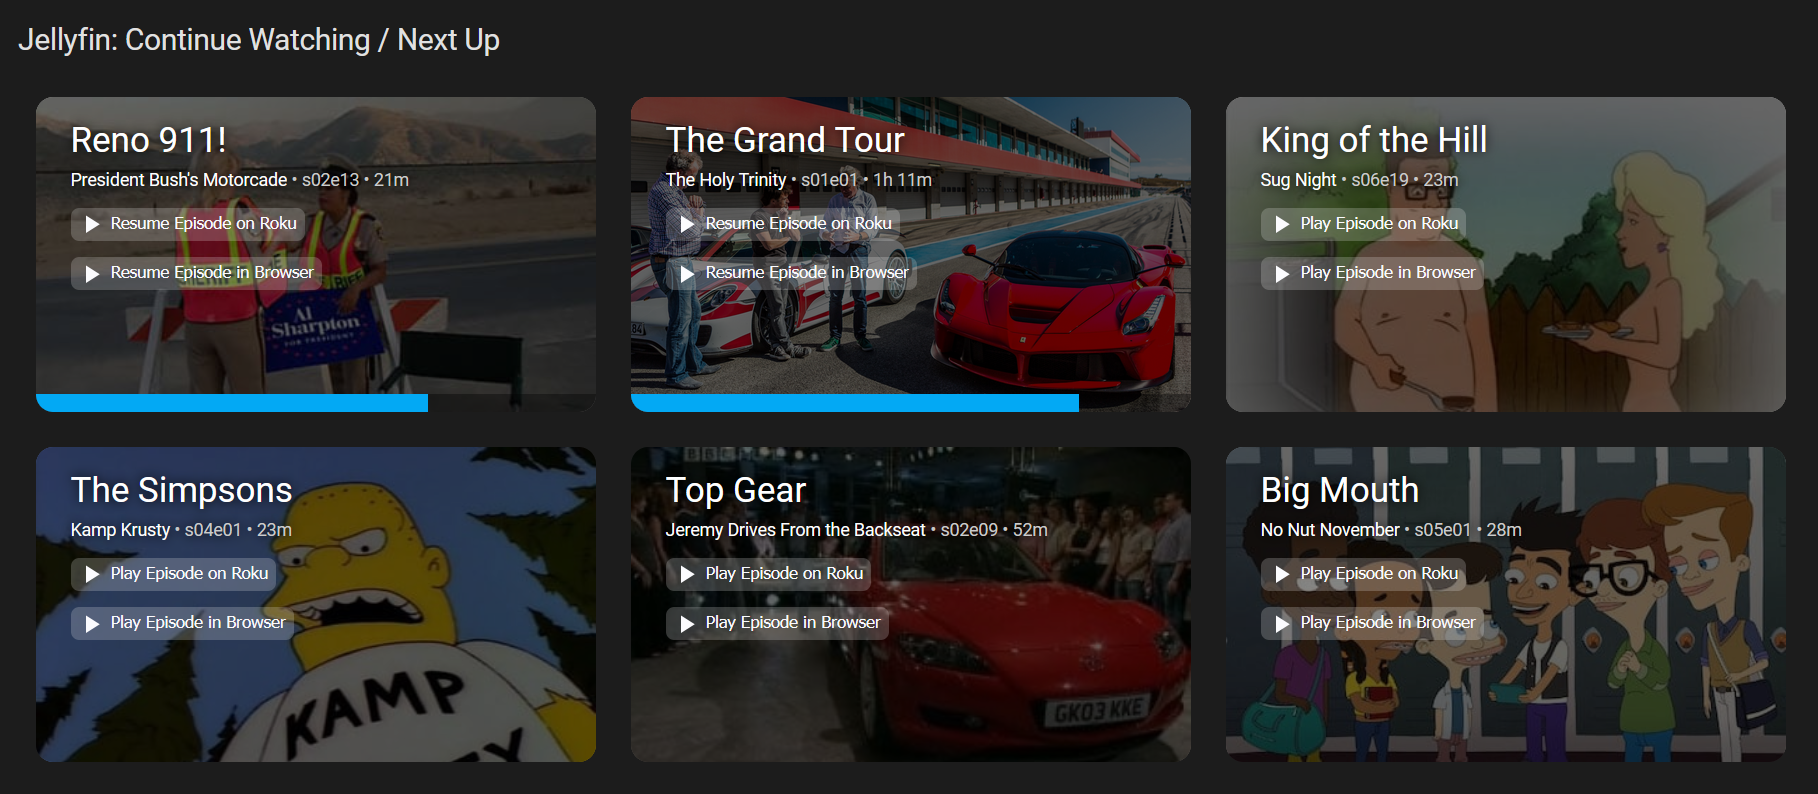
A card for Home Assistant that displays TV shows to resume watching.
There are two main parts to getting this card to work: creating the REST sensors and importing/configuring the card itself.
- Create an API key in your Jellyfin dashboard.
- Edit
secrets.yamlin your HA config directory. I recommend the Visual Studio Code server add-on for this.- Add a line with your API key in the format:
jellyfin_token: 'MediaBrowser Token="00000000000000000000000000000000"'
- Add a line with your API key in the format:
- Add the YAML configuration below for the REST sensors.
- I prefer using a separate
sensors.yamlfile and addingsensor: !include sensors.yamltoconfiguration.yaml. However, you can also add it directly toconfiguration.yamlunder asensor:block. - Replace
<jellyfin-host>with your Jellyfin domain or IP:port, i.e.https://jellyfin.mysite.comorhttp://127.0.0.1:8096. - Replace
<user-id>with your Jellyfin account's user ID. You can find this by clicking on your account picture in the top right, selecting "Profile", and checking the URL in your browser.- Change the format from raw digits (i.e.
1234567890abcdef1234567890abcdef) to UUID (i.e.12345678-90ab-cdef-1234-567890abcdef). Make sure the dashes are in the right place: 8 chars, 4, 4, 4, and 12.
- Change the format from raw digits (i.e.
- I prefer using a separate
 - platform: rest
  name: 'Jellyfin: Next Up'
  resource: <jellyfin-host>/Shows/NextUp?userId=<user-id>
  headers:
    x-emby-authorization: !secret jellyfin_token
  scan_interval: 10
  json_attributes:
    - Items
  value_template: "OK"

- platform: rest
  name: 'Jellyfin: Resume'
  resource: <jellyfin-host>/Users/<user-id>/Items/Resume
  headers:
    x-emby-authorization: !secret jellyfin_token
  scan_interval: 10
  json_attributes:
    - Items
value_template: "OK"- Restart your Home Assistant instance to apply the changes.
- Download jellyfin-next-up-card.js and place it in
/config/wwwor a folder of your choice. - Go to the Home Assistant web UI > Settings > Dashboards then to the Resources tab. Add a new resource at
/local/jellyfin-next-up-card.jsor the path of your choice (where/config/wwwis replaced by/local.) - Edit the dashboard where you want to include the card. This card is designed for use as a panel (single-card view) so it may not look right in masonry or other layouts.
- Add the card using the example YAML config below.
- Replace
<jellyfin-host>with your Jellyfin domain or IP:port, just like in the REST sensor setup. - If you have a Roku, replace
<roku-id>with your Roku's entity ID, i.e.media_player.bedroom_tv. If you don't, delete the line or set the value to''.- Set the
default_playerto determine which button appears firstand which player to use when clicking on the episode thumbnail/details(coming soon.)
- Set the
- Replace
type: custom:jellyfin-next-up-card
sensor: sensor.jellyfin_next_up
include_resume: true
resume_sensor: sensor.jellyfin_resume
show_thumbnails: true
jellyfin_host: <jellyfin-host>
default_player: web
roku_entity_id: <roku-id>
hide_play_button: false
show_runtime: true- Now you should be able to see all the shows you're watching!
-
There's an error saying the card type
custom:jellyfin-next-up-cardwasn't found.- Check your resource path for
jellyfin-next-up-card.js. If it doesn't exist or you made a typo, it won't be imported. - Try restarting your Home Assistant instance after importing the JS file.
- Check your resource path for
-
The card renders, but it's blank.
- Check your instance's logbook to see any errors from the REST sensors. Perhaps your API key is invalid, API access to the instance is disabled, etc.
- Check the attributes of the REST sensors in Developer Tools. If the sensors were renamed or the
scan_intervalwas changed, the cards may not update. - Make sure you're using the correct Jellyfin user ID, and that there are shows in Jellyfin's "Continue Watching" and/or "Next Up" sections to display.
