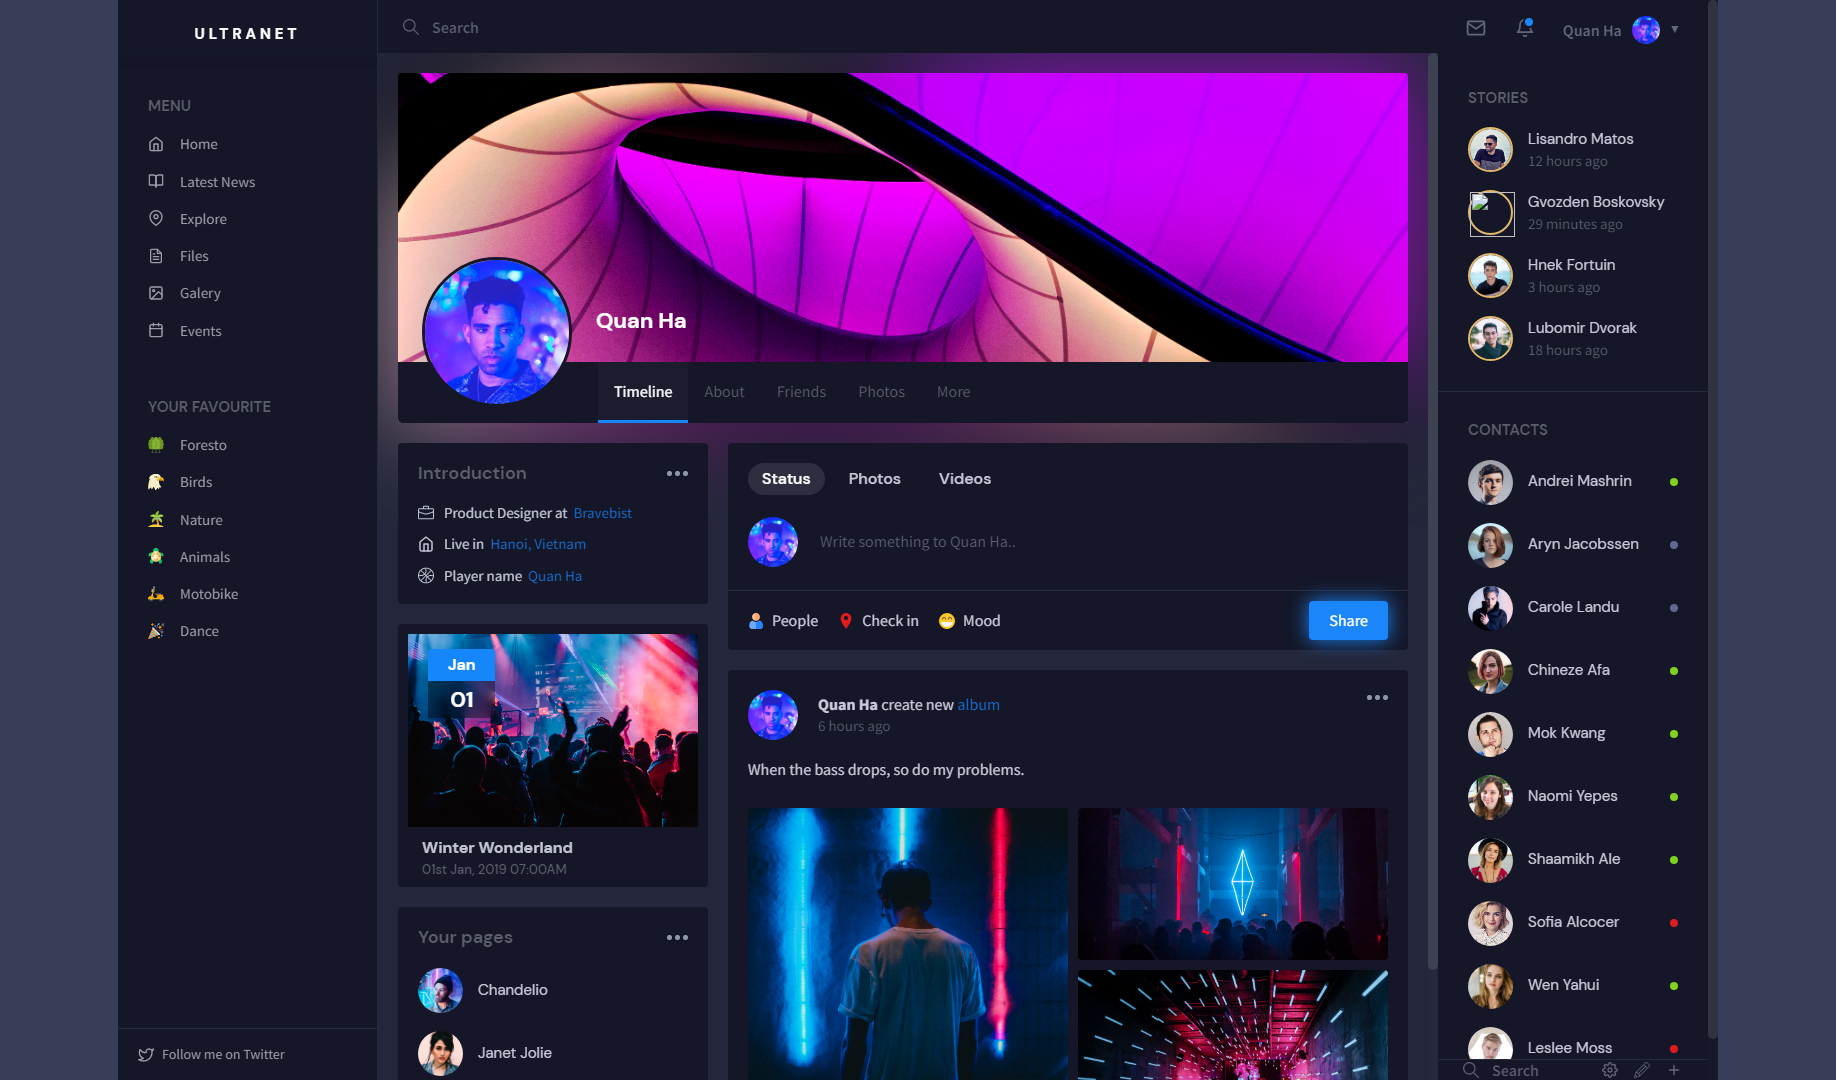
HTML-Render is an API whose main purpose is to convert HTML and CSS into an image, which can be used by the user. I created this API because I wanted to put into practice my knowledge with the Flask framework. Also, the API format makes it easy to implement with other technologies and languages, and the quality of the images is very good.
The project was created with Flask in addition to the use of the Selenium library for rendering of images.
- Functioning
- Use of Flask
- Flask is a framework that allows us to create web applications in an easy way. Thanks to this we were able to create a web application. That by means of dynamic paths will host the HTML files, giving them a unique ID.
These files were obtained through GET and POST requests, which vary depending on the type of element to be rendered (an active web page or the raw html code).
- Flask is a framework that allows us to create web applications in an easy way. Thanks to this we were able to create a web application. That by means of dynamic paths will host the HTML files, giving them a unique ID.
- Use of Selenium
- Thanks to the selenium library I was able to get a representation of the DOM, plus some extra options such as being able to select a specific element or the dimensions of the capture.
- What I learned
- During the development of this project I reinforced and applied my knowledge of the Flask framework. Among them the use of dynamic paths, which render specific files.
Its main function is to render raw html code and active web pages. It also has a web interface to simplify API usage.
Functions:
-
- With this function you can render your own HTML, CSS and JavaScript code. This in order to give as much customization as possible to the DOM.
-
- With this functionality you will be able to render any web page simply using the URL of that page. Note that since the rendering of this page is done from a headless browser, you will not see any of the styles that the page allows you to customize as a user.
The API is accessible from two different URLs:
url/api/v1/renderurl/api/v1/urlToImage
These two routes share a strong resemblance in the body of their request. Which is an object with the following structure.
{
    selector: string,
    format: string,
    size: Array<string>,
    timeout: float,
}
Only certain elements are added to this object, depending on the path used.
render: For this path, only three more elements need to be added to the object, which are as follows.
{
    elements: string,
    css: string,
    js: string,
}urlToImage: For this path, only one more element needs to be added to the object, which is as follows.
{
    url: string,
}-
selector: CSS selector of the element you want to render.
-
format: Format of the image. It can be either
png,jpg,binobase64. -
size: Size of the image. This can be a value in pixels or
full, the latter is a dynamic measurement which is based on the maximum size of the element you have selected. -
timeout: Waiting time to take the capture, this starts counting from the moment the server renders the page.
-
elements: HTML code of the elements you want to render. Only from the body
-
css: CSS code of the elements you want to render.
-
js: JavaScript code of the elements you want to render.
-
url: URL of the webpage you want to render.
-
selector:
body -
format:
png -
size: [
1920,1080] -
timeout:
2.5
If you wish to contribute to the development of the extension:
- First clone the repository
git clone https://github.com/DawntDev/HTML-Render.git
- Then create a branch with your user name
git checkout -b <your-user-name>
- Install project dependencies
Pull requests are welcome, I would appreciate your support to contribute to a better development of this application. For major changes, please open an issue to discuss what you would like to change.
pip install -r requirements.txt


