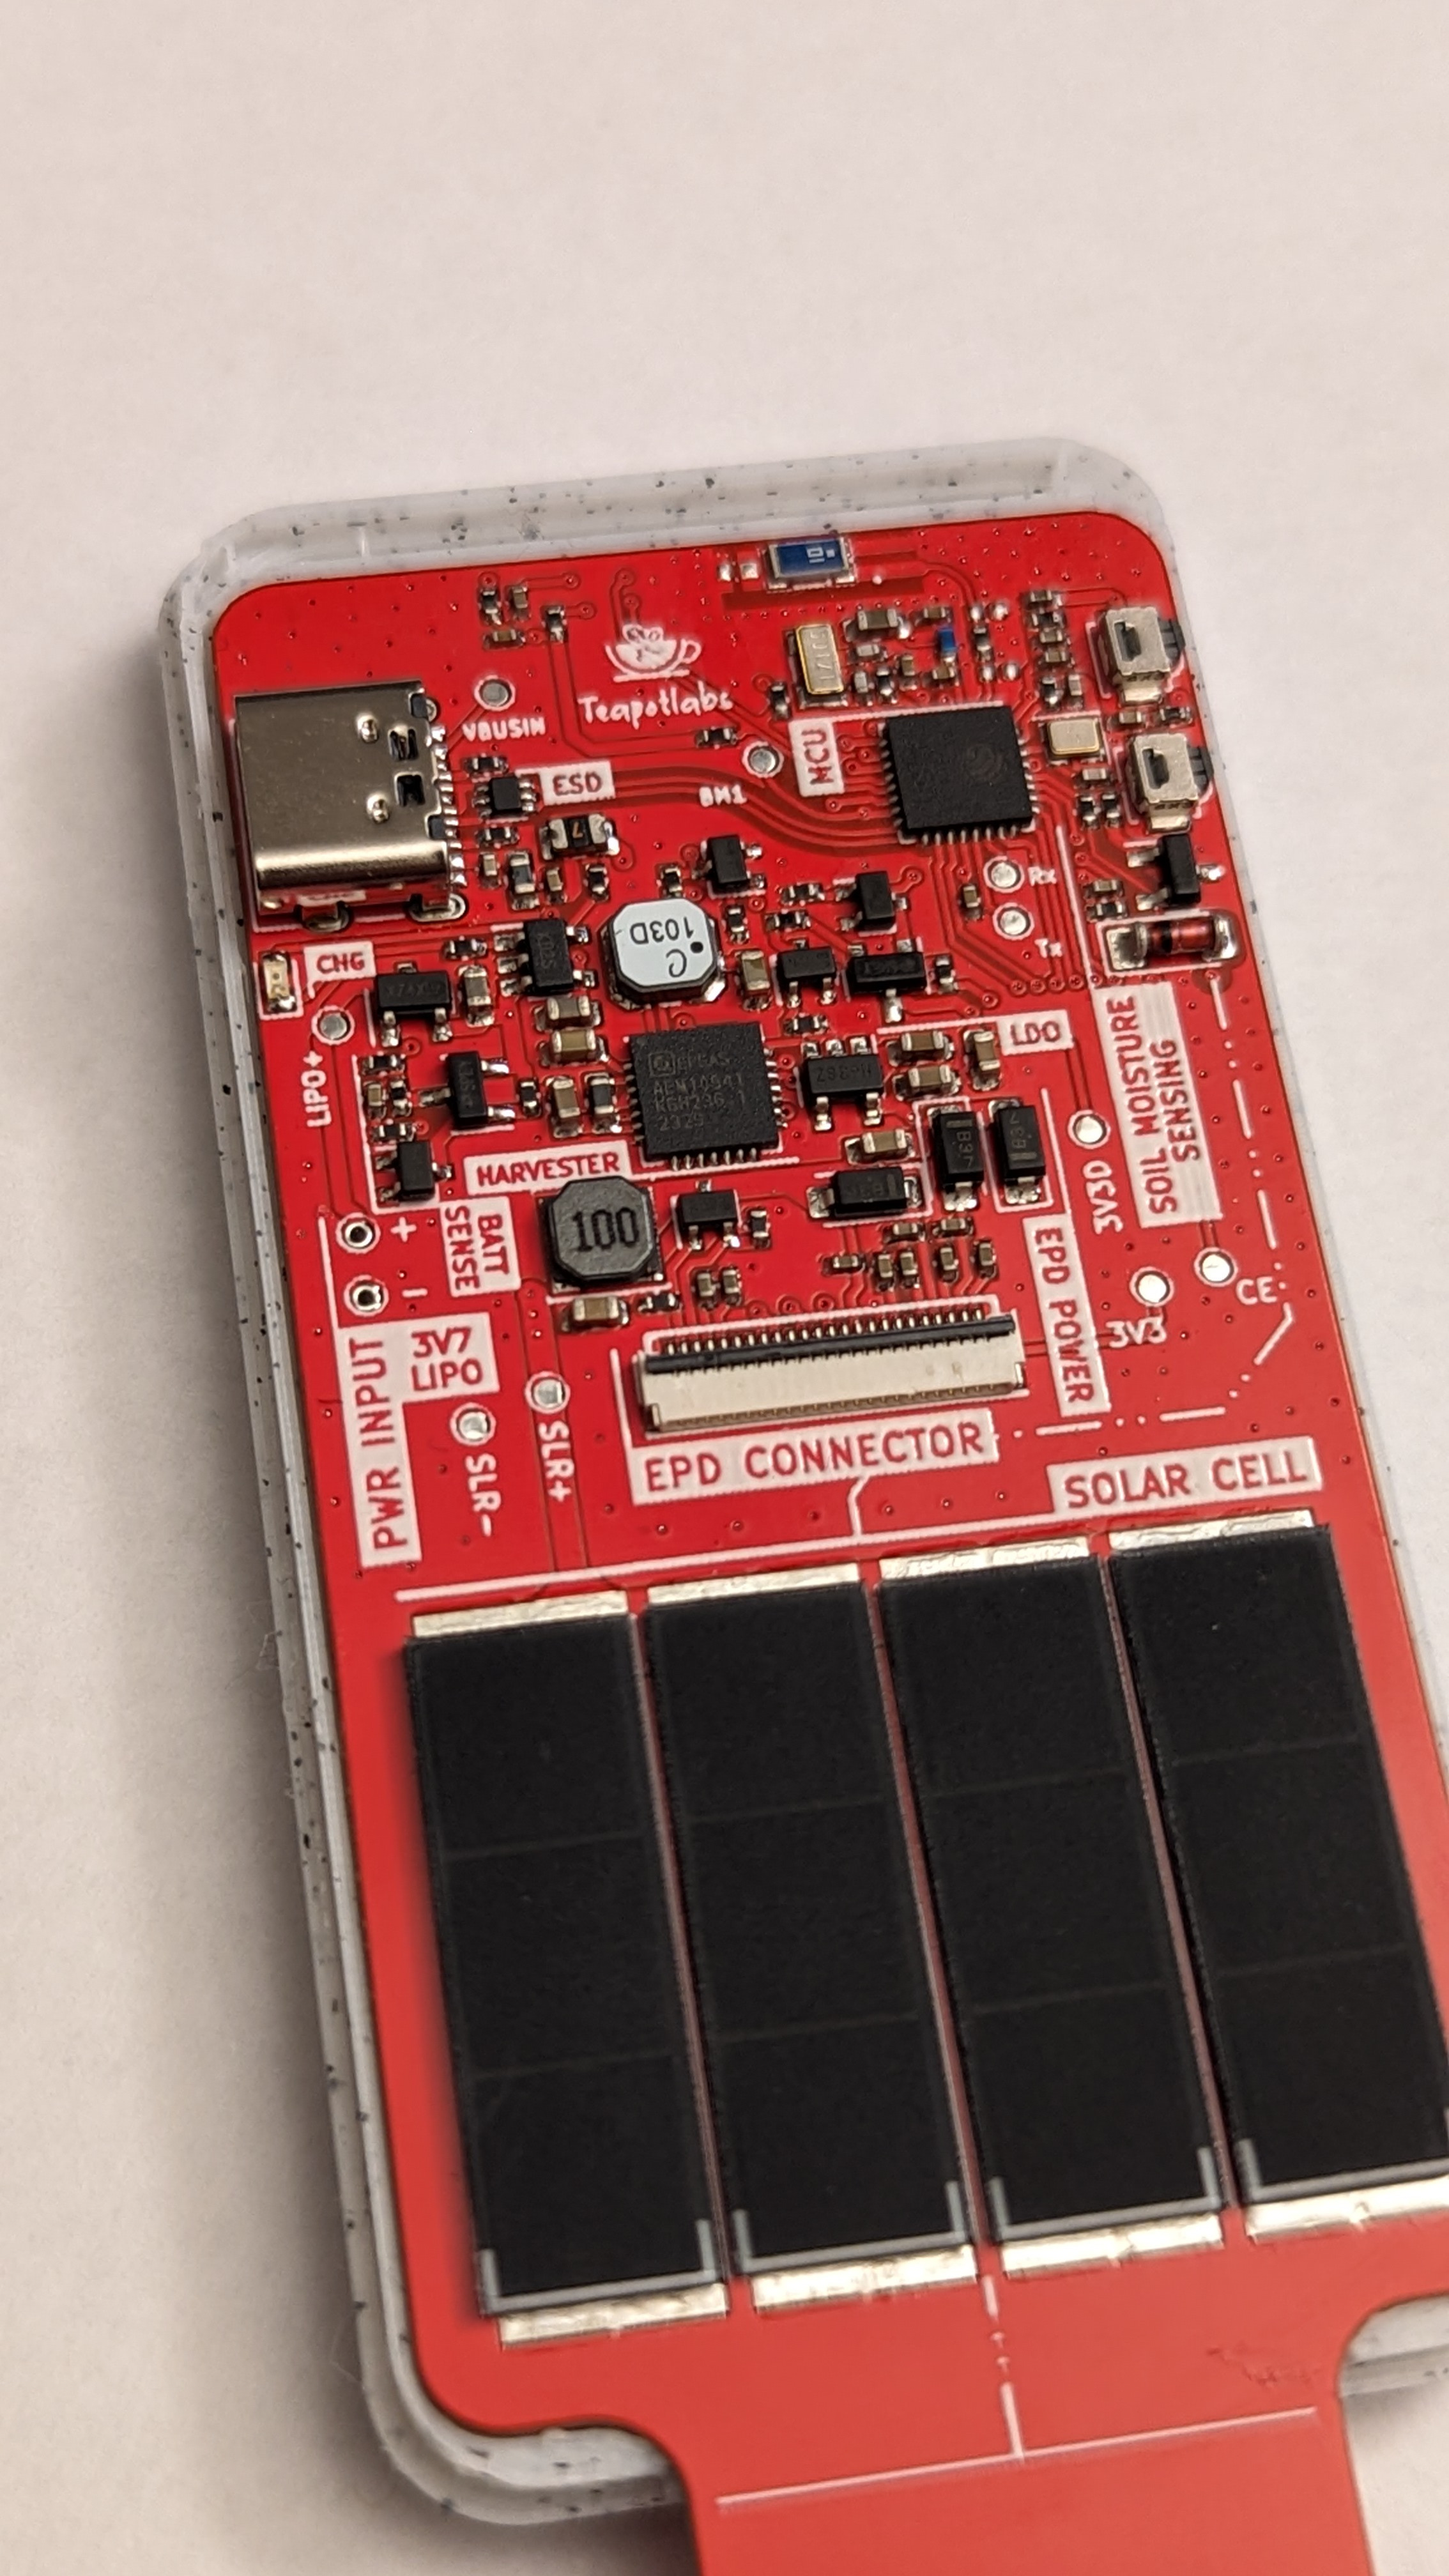
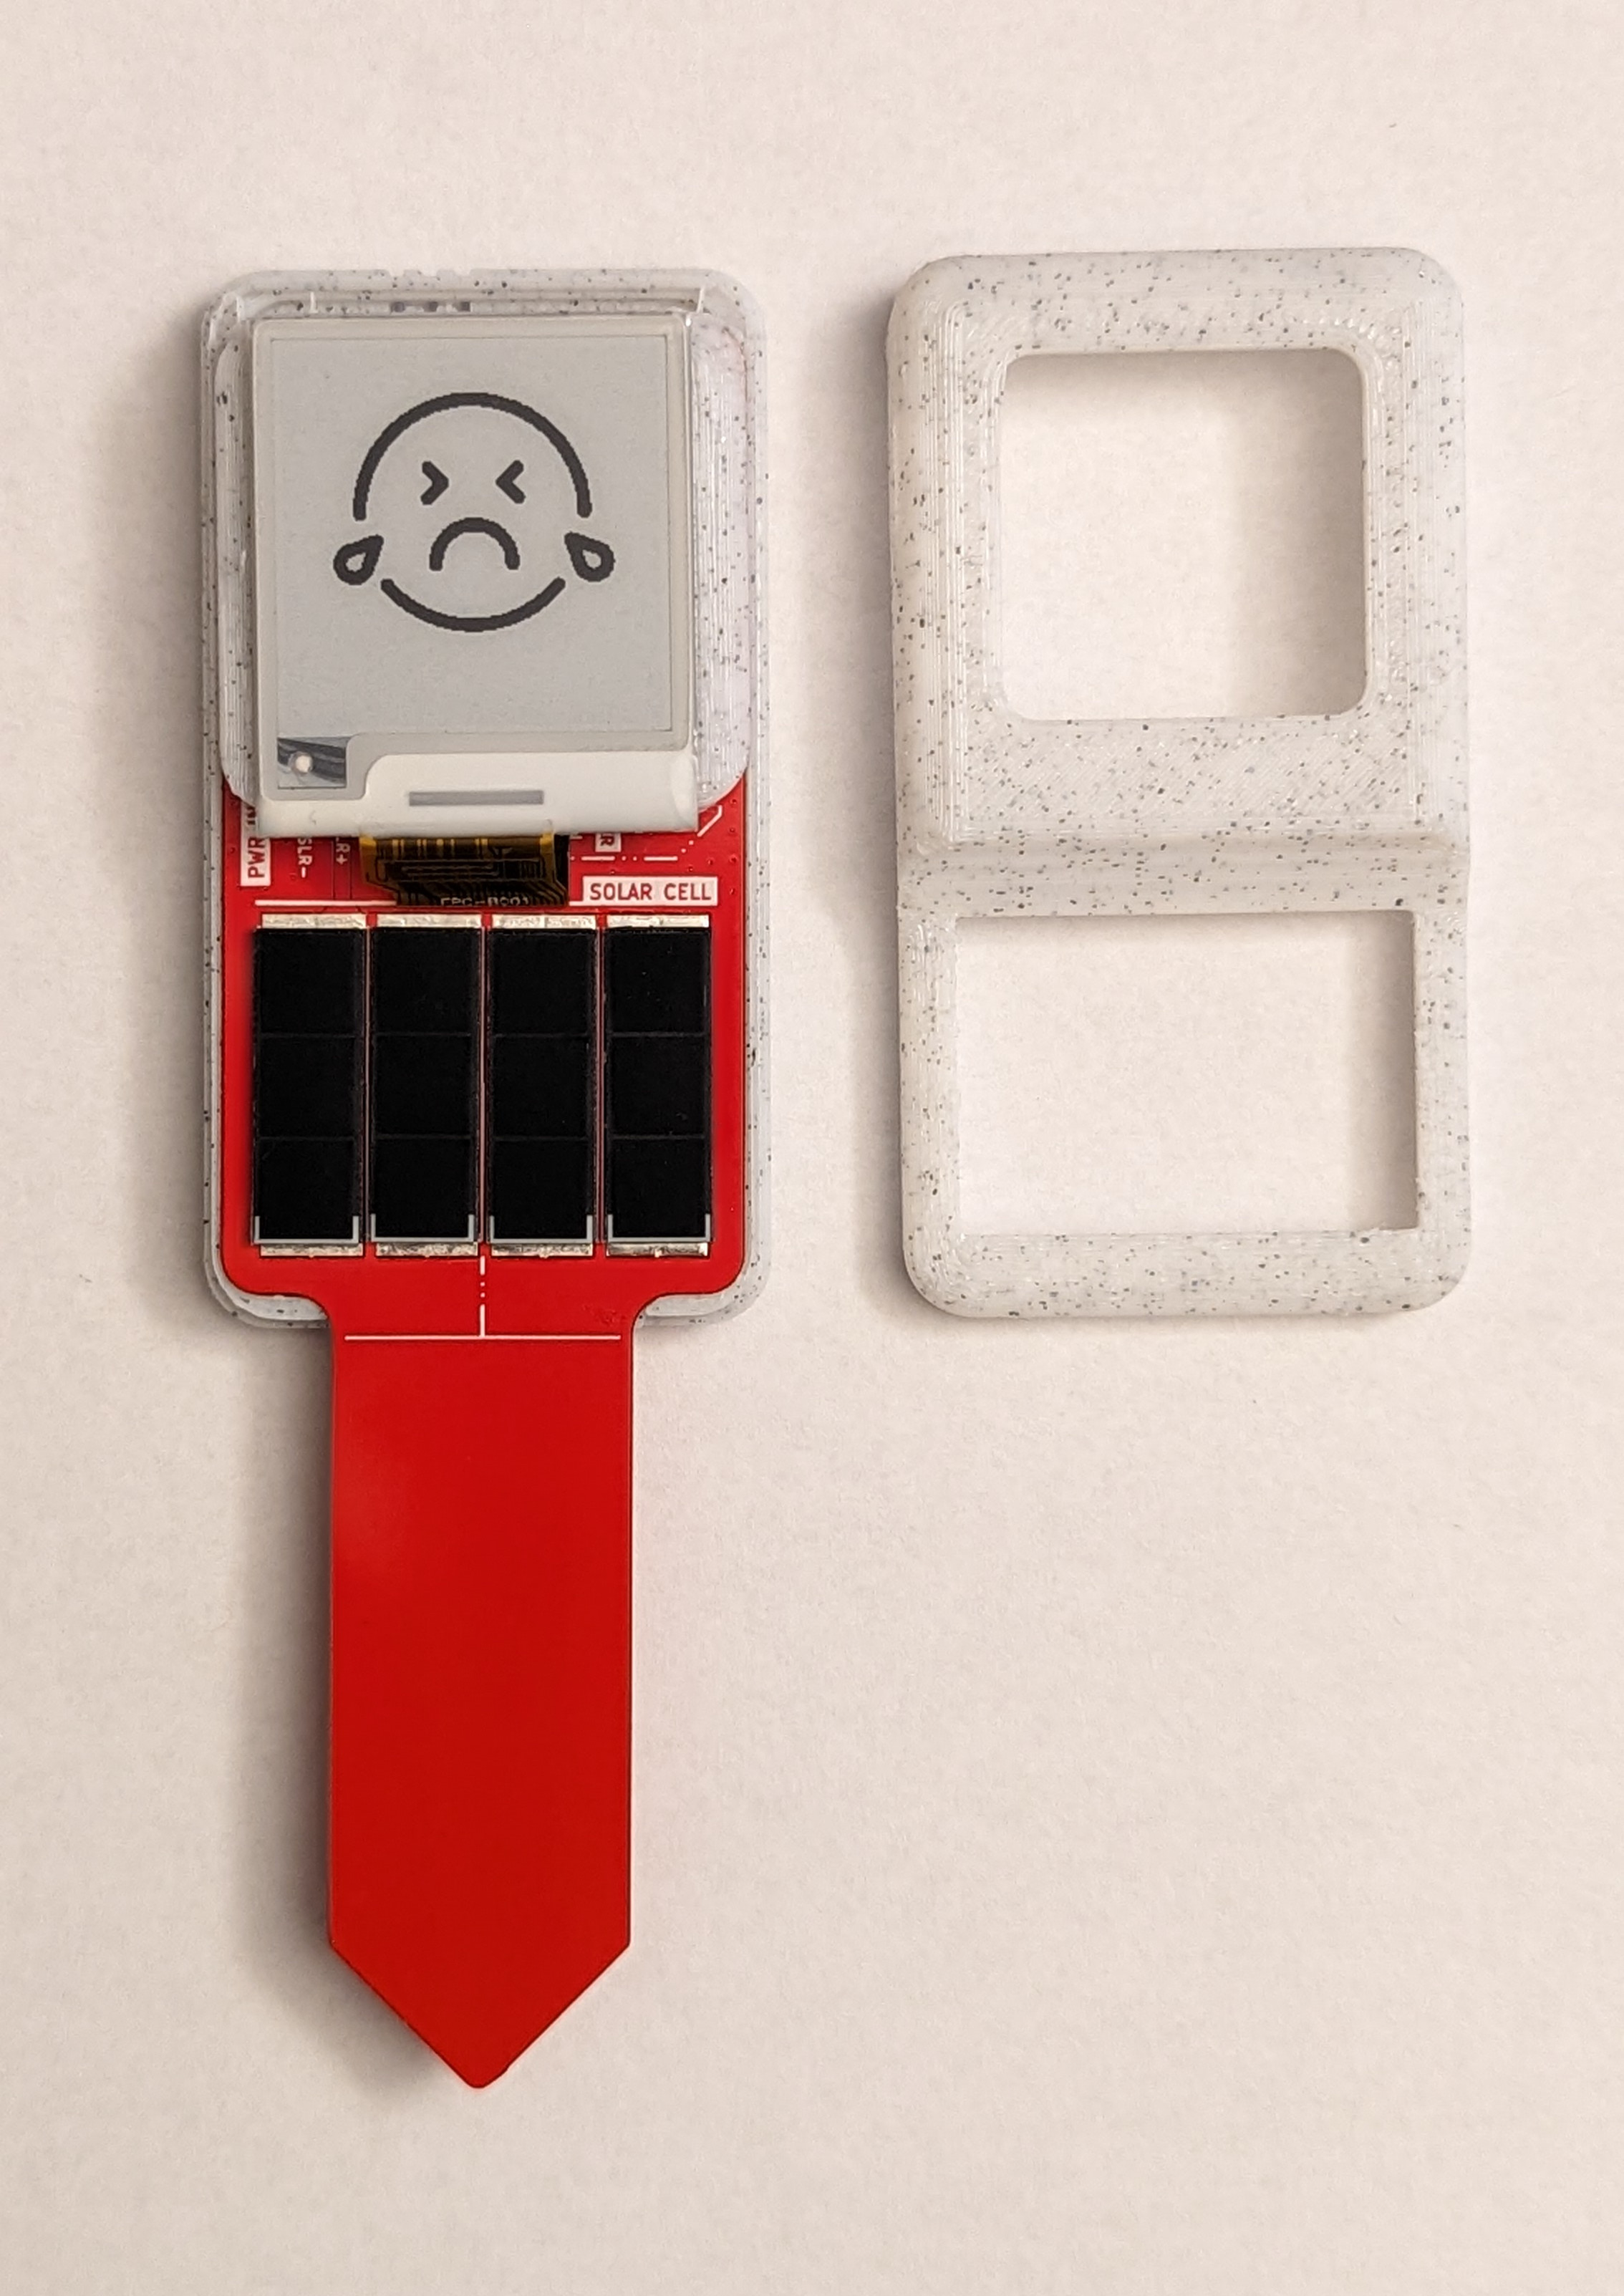
Meet Teapotlabs Plantpal - Your pal in plant care! This adorable device uses capacitive sensing to measure soil moisture. Its low-power e-paper display keeps you updated without draining energy. Plus, with the BME688 sensor, it is able to monitor air quality and CO2 levels, ensuring your plants thrive in optimal conditions.
Teapotlabs Plantpal is part of Teapotlabs open-hardware project.
Huge thanks to PCBWay to sponsored this project! All PCB board and PCB Assembly in this project was using their rapid-prototyping services. The process from ordering to delivery of the device was really smooth and easy. We were really happy with the quality of the assembly and especially the customer support that was really easy to work with, where they help us identify and fix issue such as verifying BOM, checking components for assembly and even replacing damaged parts at no cost.
The project won't be possible without the amazing work from people across the globe. The following are the reference to those awesome projects!
- Soil moisture design from b-parasite
- Solar energy Harvesting from TSEM
- Antenna design from Picoclick-C3
- ESP32-C6FH4: ESP32-C6 with 4 MB in-package flash
- AEM10941: Solar energy harvesting
- USB-C for charging and programming
- ~20uA Deep-Sleep
- 1.54 Inch E-Paper Display
- Sensor:
BME688for Environmental Sensing- Built-in
Soil Moisturesensor Battery voltagesensing
- 500mA charge rate via USB
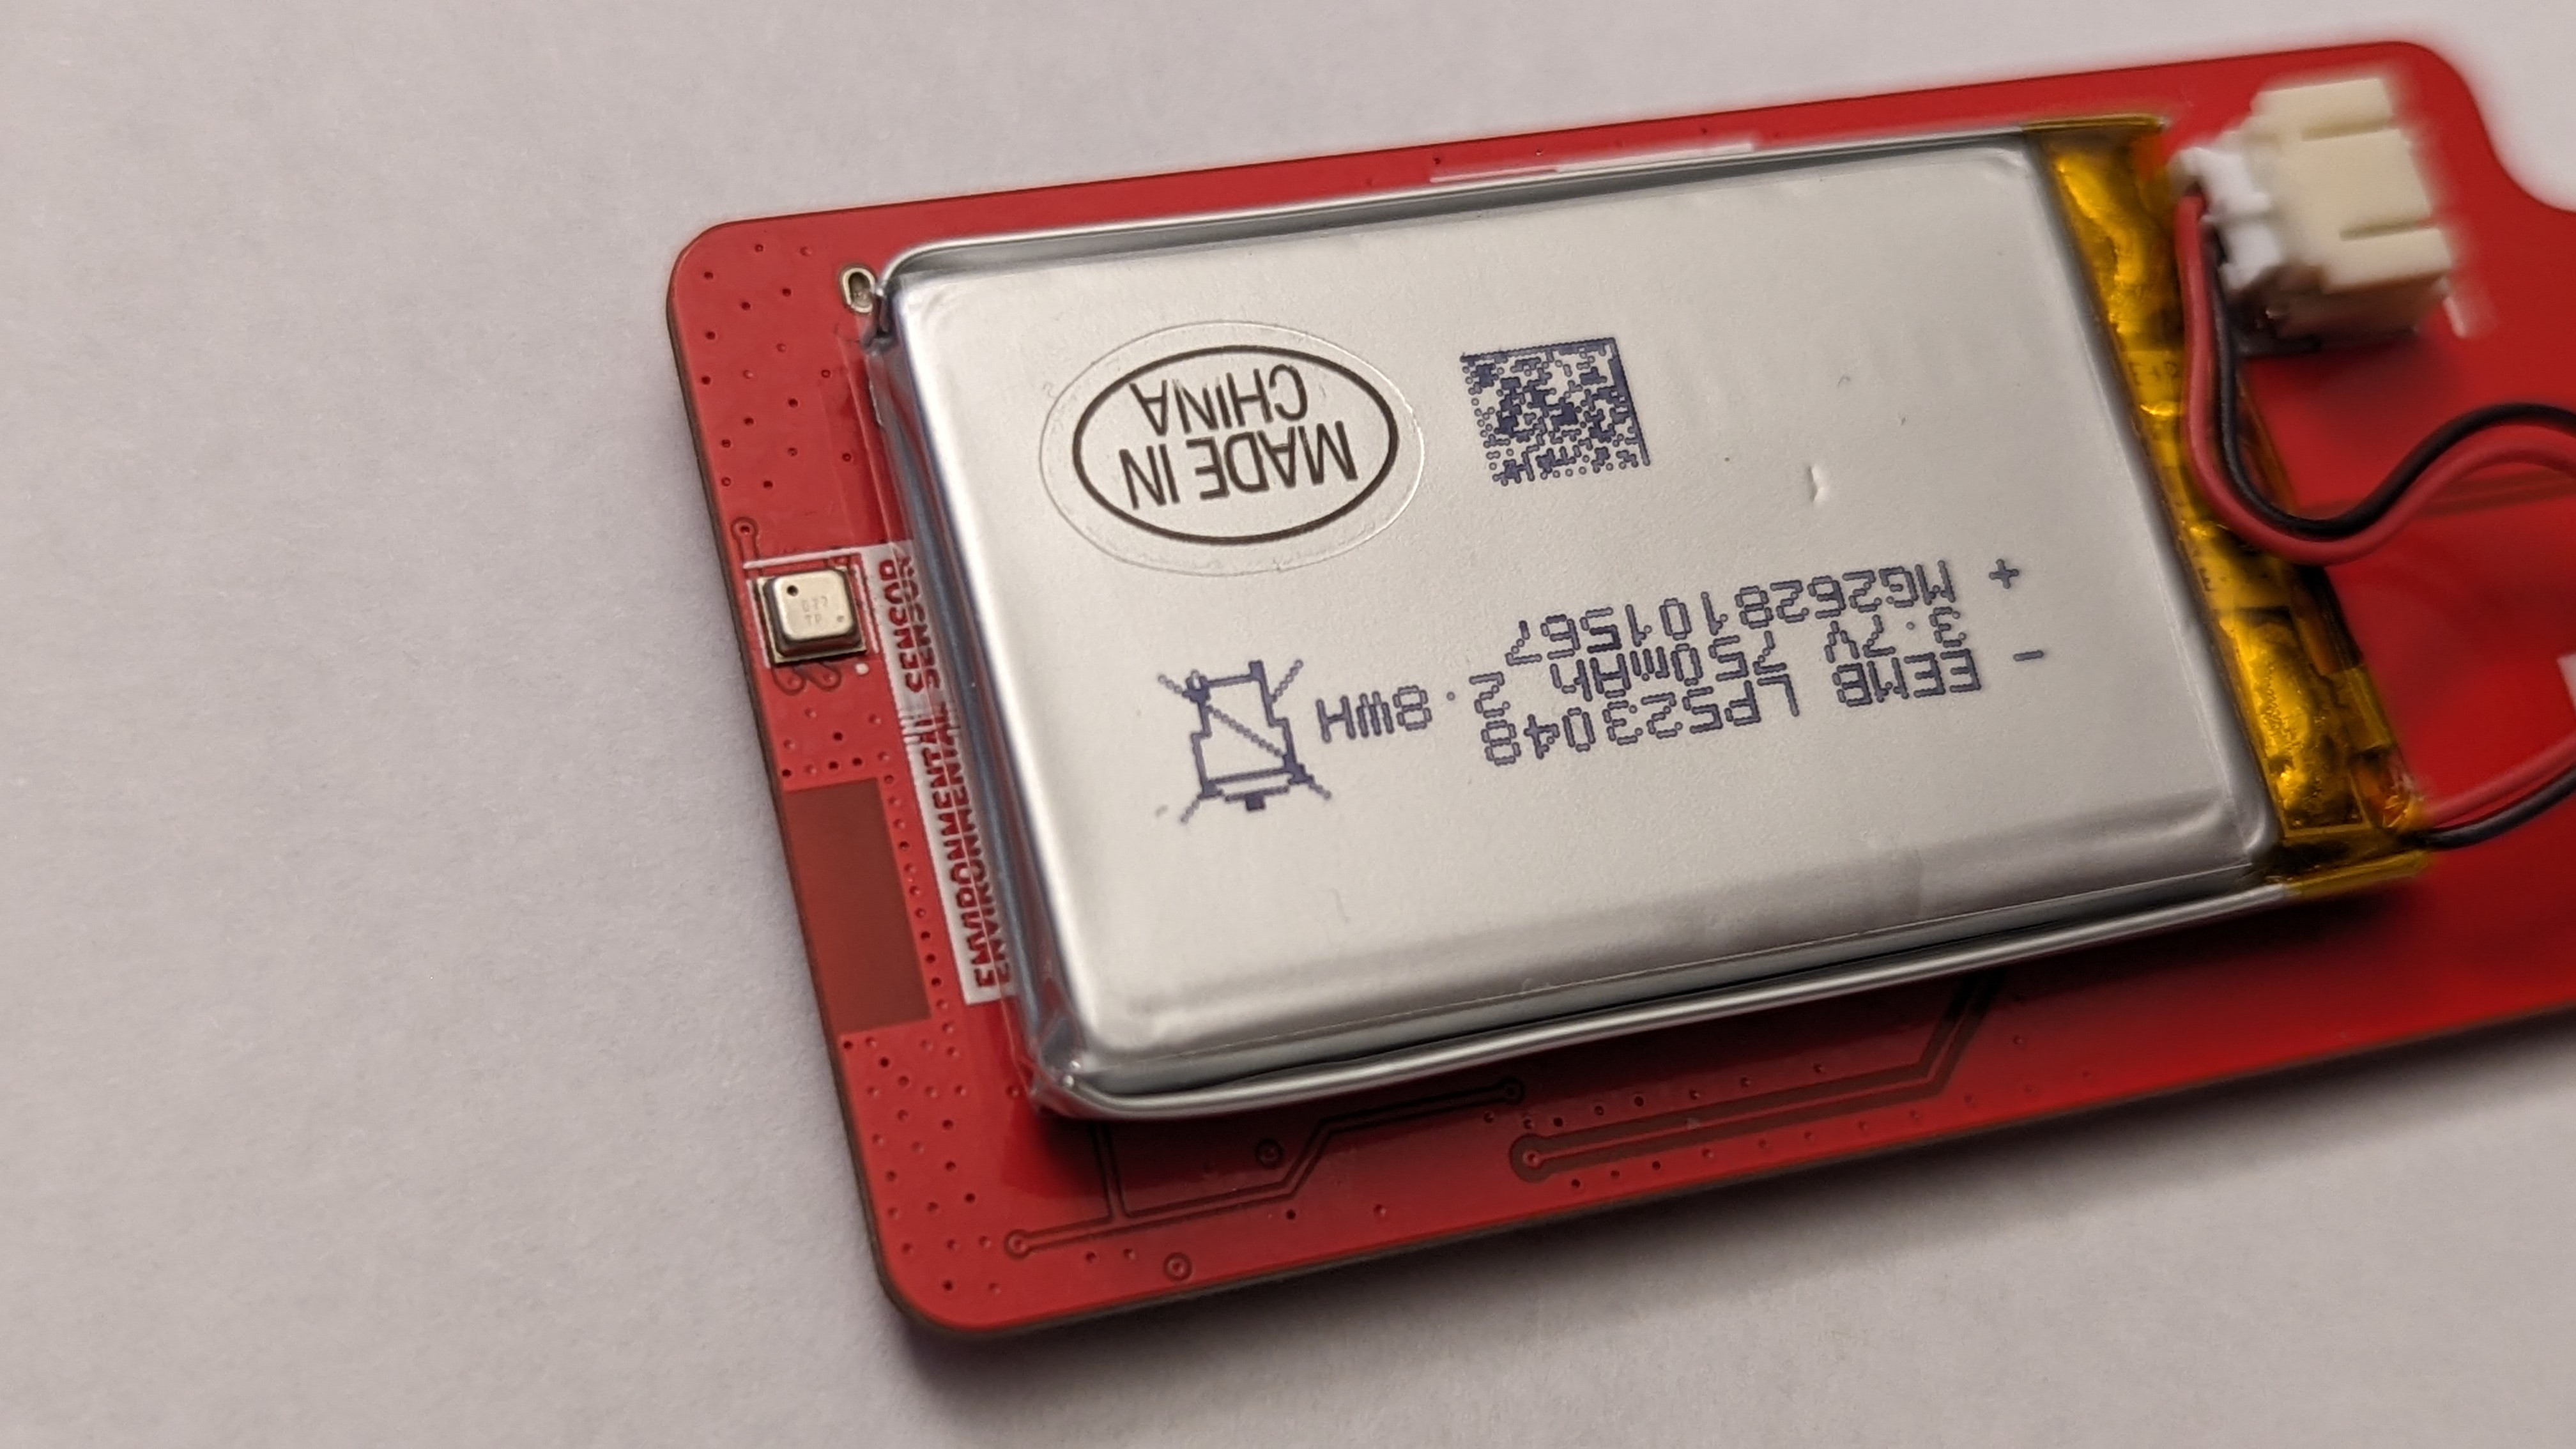
- 3.7 Volts LiPo Battery
- Revision 1: Initial public release
- Revision 2: Remove via in pad
- Revision 3:
- Fix incorrect BOM component for D1
- Fix D6 Polarity
- Remove Power Gate
- Change Soil Sensor
SENSE_OUTpin - Add EPD power switch
- Change to 4-layer board
- Move BME688 to bottom layer
- Improve antenna layout
- Revision 4: Re-wire EPD remaining power to +3V3D
- Revision 5: Re-trace Wifi antenna to conform with the new stack-up
- Release 4.1: Based on revision 4.0, with BoM changes.
- Change charge rate resistor to 2K for 500mA
- Update solar cell components to latest available
Built using KiCAD 7.0.5 A detailed schematic can be found here
Built using KiCAD, the board is design to be as small as possible with all components placed on the top side of the PCB.
⚠️ The following design are based on revision 3 but is similar to revision 4.
More images can be found here
| Top Board | Bottom Board |
|---|---|
Built using TinkerCAD. The case are 3D printable with any generic 3D printer with/without support. The STL files are available here
BME688 sensor is available in the back, facing 3 small vents in the back of the case
Based on the amazing project in b-parasite, Plantpal has the built-in soil moisture sensor via capacitive sensing. Using capacitive sensing, enables the device to measure soil moisture without any traces exposed to the environment. See rbaron's b-parasite project for more information on how the sensor works and more additional information to protect the soil moisture sensor!

Soil Moisture Sensing Showcase
Power consumption and solar charging current are measured using Nordic PPK2 and Joulescope. The following are the summary of the measurement:
- Deep-sleep : 22uA
- Read Sensor, Update Display, and Store Data to Flash: 31mA @ 2.5s
- Read Sensor, Update Display, Store Data to Flash, and Publish to MQTT: 54mA @ 3.77s
- Direct Sunlight Solar Charge: 7.5mA
- Note: latest testing shows an average of 10mA
- Indirect Sunlight Solar Charge: 400uA
⚠️ Tested on Revision 4-equivalent board, but should be similar to Revision 4

Read Sensor, Update Display, and Store Data to Flash

Read Sensor, Update Display, Store Data to Flash, and Publish to MQTT

Solar Charge - Direct Sunlight

Solar Charge - Indirect Sunlight
More measurement can be found here
Most of the components are generic and can be bought from any electornics/semi-conductor distributor. The bill of materials can be downloaded here.
The EPD display used and tested is GDEY0154D67 from GoodDisplay. The following display should be compatible, but the example code would need to be adjusted:
- GDEW0154T8
- GDEW0154Z17
- GDEW0154Z04
- GDEW0154C39
- GDEW0154I9F
Those displays are available from AliExpress
Programming the device can be done easily over the USB-C.
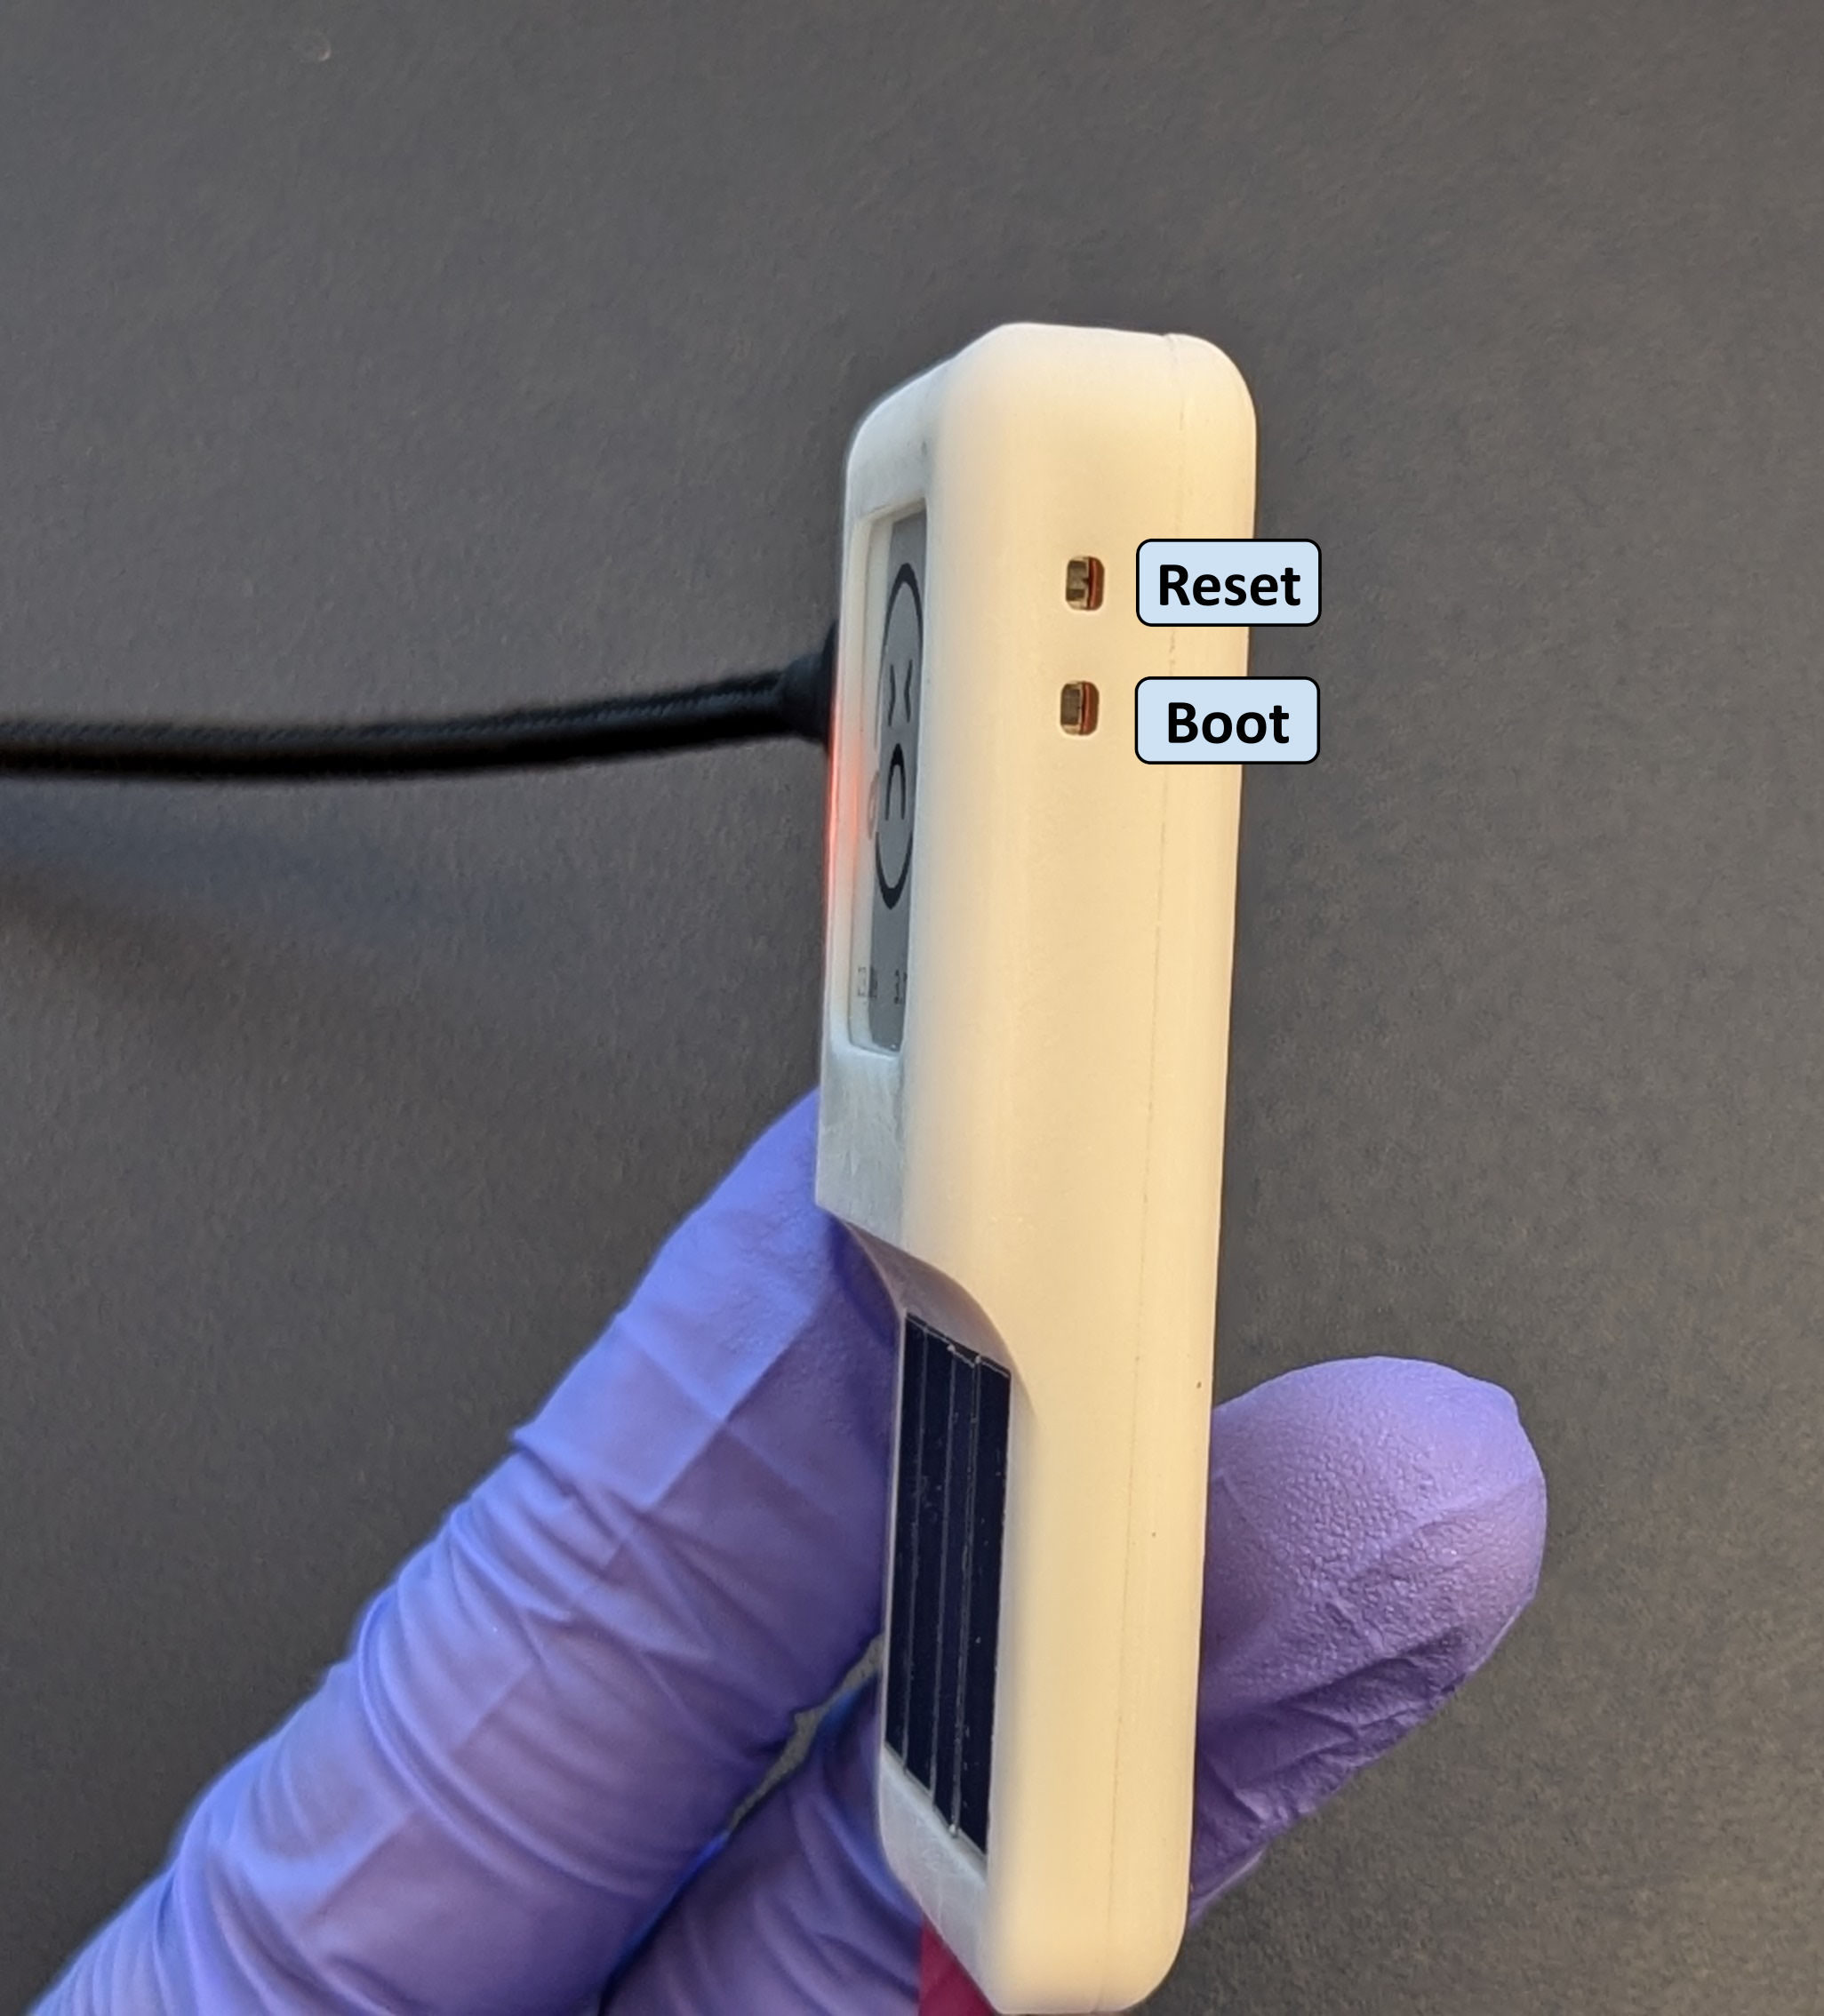
Out of factory, the ESP32-C6 will be blank and need to be put in bootloader mode. The following is a step-by-step guide to initially program the device
- Plug-in the USB-C to host computer and check if the device is detected
- If not, check that you have the battery plug-in and try to shine the solar cell using any source of bright light ( phone flashlight, sun, lamp )
- Wait until the USB is detected in the host computer
- Press and Hold
BOOTandRESETbutton - Release
RESETbutton - Wait couple seconds
- Release
BOOTbutton - Plantpal should be in
bootloadermode and you can flash it viaESP-IDForArduino
A more detailed information about USB behavior on ESP32-C6 can be here
At the moment, we do not mass produce the device. The fastest way you can get the device is to order it directly from the manufacturer here (does NOT include the display and case). You need to buy the display separately from Aliexpress or other distributor.
If you'd like to buy it from us fully assembled, we might be available and please contact [email protected]
Some disclaimer about Plantpal:
- WiFi antenna is not tuned and not certified
- RTC components have not been tested
- The solar charge rate is 1.5mA lower than Teapotlabs BWLR1E even though they use the same components and configuration.
- Note: latest testing shows an average of 10mA
For any questions feel free to create a issue or contact [email protected]
The product is open-source! However, some part of library used under firmware or hardware, might have it's own license. Please reach out or create a ticket if Teapotlabs Plantpal violated any licenses.


